How to Install a Replacement Bandsaw Tyre
By Beyond Tools – Your Experts in Machinery & Accessories
If your bandsaw isn’t cutting as smoothly as it used to, or you’ve noticed excessive blade slippage, vibrations, or uneven cuts, it may be time to replace your bandsaw tyres. These tyres sit on the wheels of your bandsaw and play a crucial role in providing grip, improving blade tracking, and ensuring clean, accurate cuts.
In this guide, we’ll walk you through how to install a replacement bandsaw tyre step by step.
Why Replacing Your Bandsaw Tyres Matters
Over time, bandsaw tyres wear out due to friction, heat, and regular use. Worn tyres can:
-
Cause poor blade tracking
-
Increase vibration and noise
-
Lead to uneven cuts
-
Put extra strain on your bandsaw motor
Replacing your tyres when needed is a simple, cost-effective way to keep your machine running at peak performance.
What You’ll Need
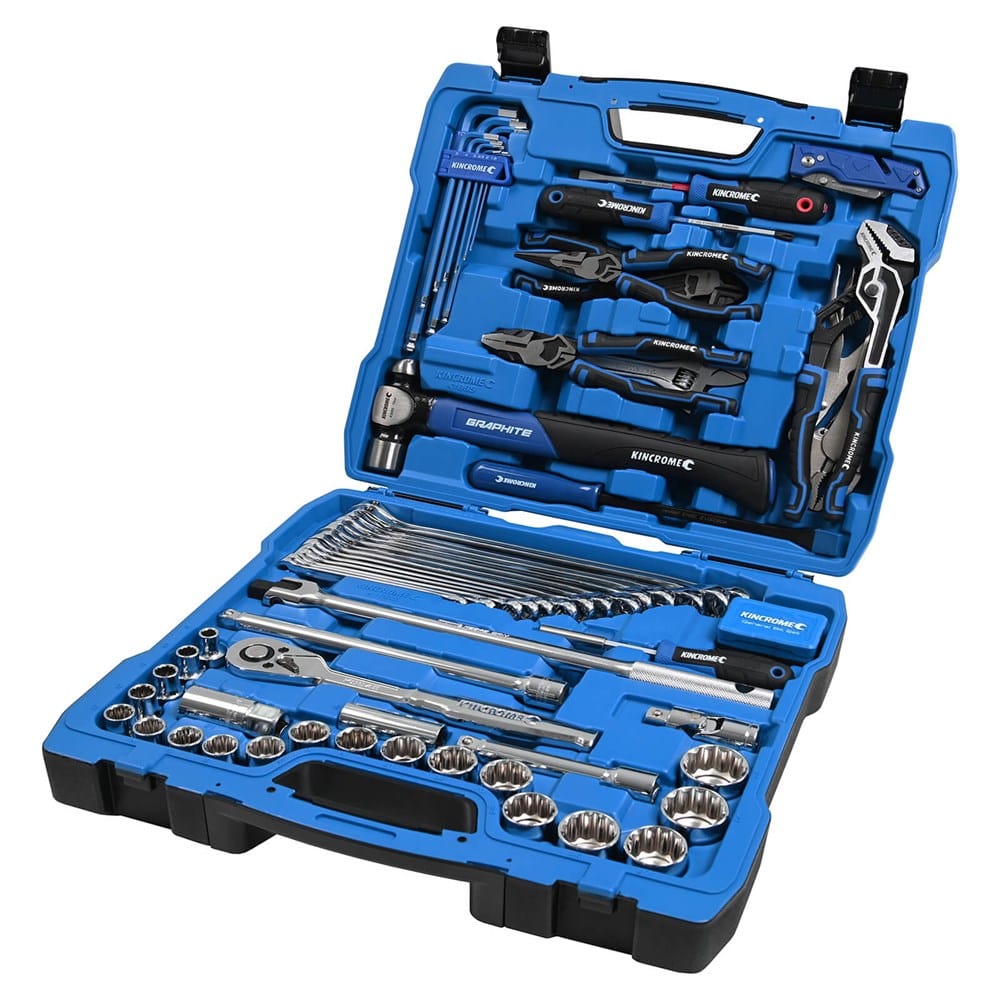
Before you start, gather these tools and items:
-
Replacement bandsaw tyre (make sure it suits your bandsaw model)
-
Flathead screwdriver or tyre removal tool
-
Warm soapy water
-
Clean cloth or towel
-
Optional: clamps or cable ties for installation assistance
Step-by-Step Installation Guide
Step 1: Unplug Your Bandsaw
For safety, always disconnect your machine from the power source before working on it.
Step 2: Remove the Bandsaw Blade
-
Release the blade tension and carefully remove the blade.
-
Place it aside safely to avoid injury.
Step 3: Remove the Old Tyre
-
Locate the worn tyre on the bandsaw wheel.
-
Use a flathead screwdriver or tyre removal tool to gently pry it off.
-
Clean any dust, glue, or residue from the wheel surface with a damp cloth.
Step 4: Install the New Tyre (Depending on type)
-
Rubber Tyres
-
Heat isn’t necessary, but they may require adhesive—apply glue evenly.
-
Stretch onto wheel; clamp opposing sides.
-
Use a dowel or pipe to roll around the tyre and settle it evenly.
-
Let adhesive cure for up to 24 hours before reuse
-
-
Urethane Tyres
-
Soak in warm soapy water for 5–10 minutes to increase flexibility.
-
Fit one edge onto the rim, then stretch around—use clamps if needed.
-
Work a dowel around to even out the stretch—no adhesive required
-
Step 5: Check the Alignment
-
Make sure the tyre is centred evenly on the wheel.
-
Rotate the wheel by hand to confirm there are no twists or bumps.
Step 6: Reinstall the Blade
-
Place the bandsaw blade back on, tension it correctly, and ensure proper tracking.
Pro Tips for Longer Tyre Life
-
Always keep your bandsaw wheels clean and free from debris.
-
Replace both tyres at the same time if one is worn.
-
Avoid overtightening your blade, as this can reduce tyre life.
Find the Right Bandsaw Tyre for Your Machine
At Beyond Tools, we stock a wide range of replacement bandsaw tyres to suit various brands and models. Whether you need rubber or urethane tyres, our range is designed for long-lasting performance and easy installation.


